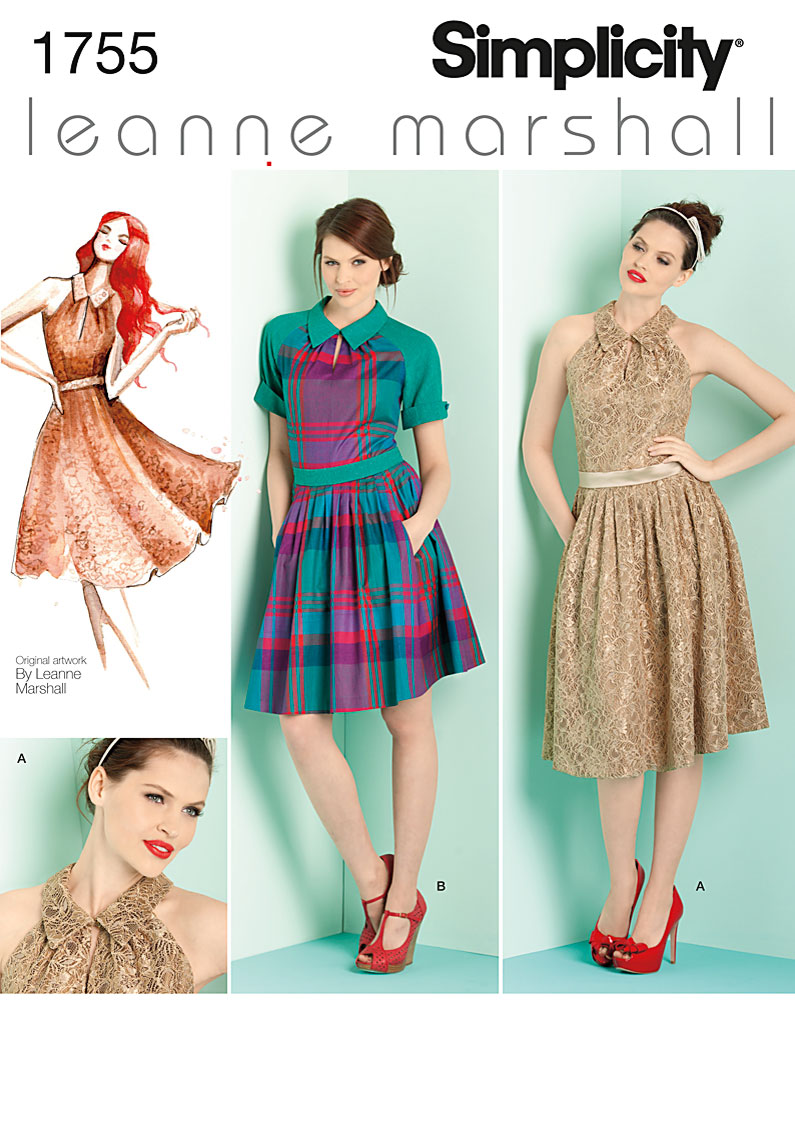
So with the start of Summer break I decided to take advantage of the pattern sales going on and bought a load of patterns to start working with. I was even lucky enough to find a store closing sale at Joann's and get a few more patterns really cheap.
This will be the second garment I have made using a pattern. Last summer I made the Simplicity 9769 corset and shirt pattern. The corset part was super easy. The shirt however was one disaster after another but it finally came out looking okay. I learned a lot from that experience and hopefully I will be making at least two more corsets this summer.
I began this dress by roughly cutting out the pattern pieces and then ironing them flat with a warm iron. I didn't do this before and it really helped this time around.
I had measured myself and remeasured myself so I knew what size I should be. Then, because I am paranoid, I traced all the pieces to my size on some tracing paper. I got the paper from Amazon for $20 for a 50 yard roll. Super sweet deal compared to the Swedish tracing paper I was looking at that was $10 for 10 yards. I've heard really awesome things about it though.
After that I washed my fabric using a technique I read about on Reddit. This may be a no brainer for some but for someone who is not that experienced with making clothes or anything that needed to be washed afterwards it was helpful. You take the two cut ends of the fabric and sew them together to make a tube. Then you wash and dry as you normally would. I wash everything cold and then low heat on the dryer. Then you can either seam rip or just cut off the sewed edge.
I ironed all the fabric and then placed it on the floor (since I don't have a long enough table) and put all the pattern pieces down like the pattern suggests. I traced all the pieces and pinned the folded fabric so it wouldn't move during cutting.
I now had a nice pile of pieces to go through. I decided to take this step by step. So I began with the bodice. I transferred all the marks in pencil (I cannot seem to get fabric pencils to work for me) and drew the lines where to sew the 1/2" lines along the underarms. I really like this pattern because it describes why you are doing something.
Then came time for the pleats. I was slightly intimidated but with the directions it made everything easy. So I pinned them all and then sewed the basting stitch across them. I then put the dart in the back and front pieces.
Now time for the easy part, sewing all the bodice pieces together. I sewed all the pieces together except for the back (for the zipper). I was super excited at this point to see how it would look on me so I "tried it on".
To my absolute horror it did not fit. I was devastated. I couldn't understand why. I had done all the measurements and thought I had a solid idea of what size I needed to be. I frantically went back and checked the package. I had taken the wrong measurement number down. I confused my underbust with my bust and now the dress was too small! How could I have been so stupid? I felt like such a scrub. Well, no tears were shed because a friend of mine could fit into this dress if necessary so not all was lost. It also taught me a valuable lesson. MAKE A FREAKING MOCKUP!!
I went back to Joann's a few days later and bought more fabric for the top. I will be remaking it soon and will update on the progress.
Cheers!


